|

|
|
|
Steps:
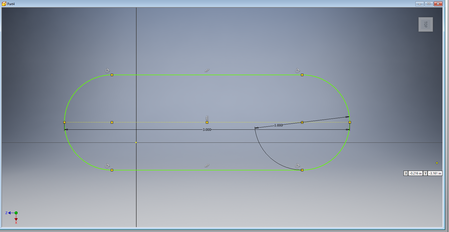
1: Create the widget in the in inventor
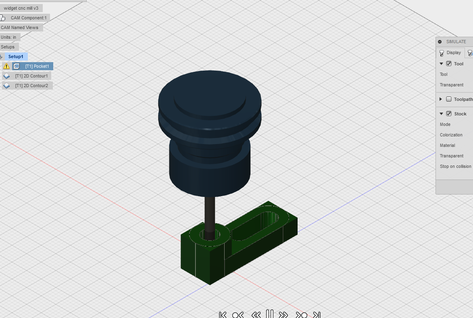
2: Save the file and move it into Fusion 360
3: Click 2D and pocket clearing
4: Click both of the pockets on the widget
5: Click 2D contour
6: Click on the lower edge of the widget and lower edge of the circle
7: Click post process
8: Select the machine you want and the place to save the g code too
9: Plug the flash drive into the computer next to the CNC mill
10: Copy the file onto the computer
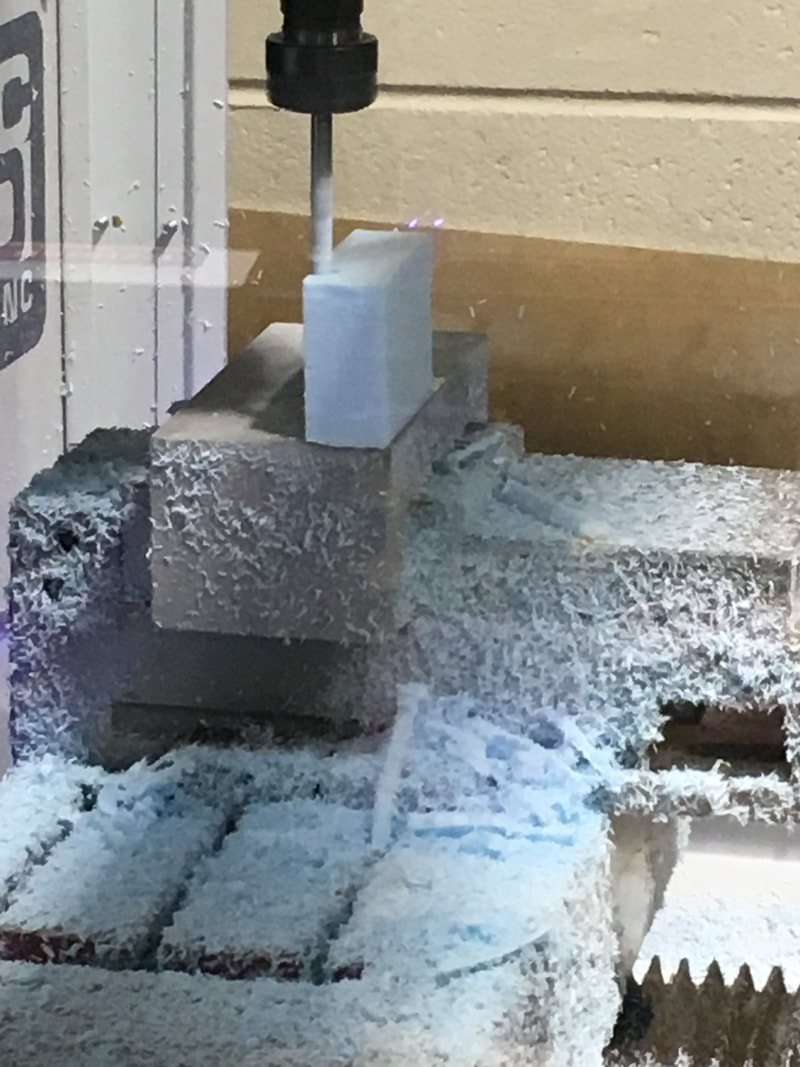
11: Set 0,0,0 on the material using the black pad
12: Click start
2: Save the file and move it into Fusion 360
3: Click 2D and pocket clearing
4: Click both of the pockets on the widget
5: Click 2D contour
6: Click on the lower edge of the widget and lower edge of the circle
7: Click post process
8: Select the machine you want and the place to save the g code too
9: Plug the flash drive into the computer next to the CNC mill
10: Copy the file onto the computer
11: Set 0,0,0 on the material using the black pad
12: Click start
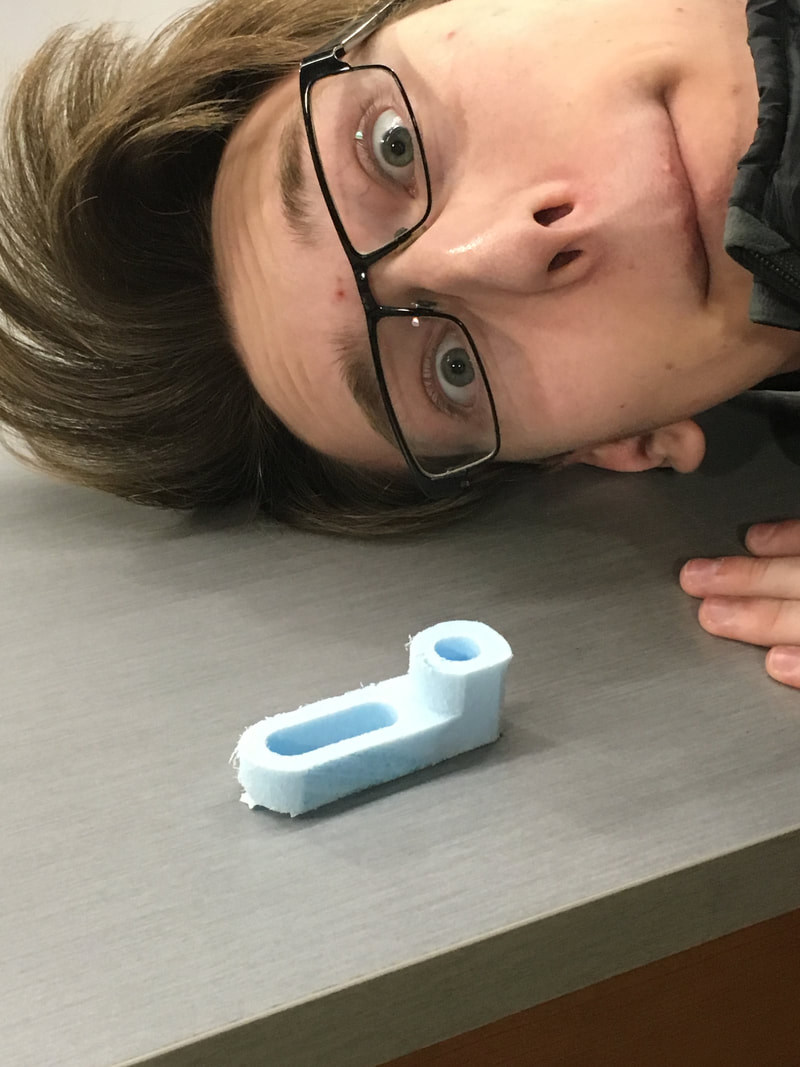
What I Learned
This project was a good learning experience. I got a refresher on inventor, learned a new program and a new machine. All of this new material was fairly easy and can be used on my next project with the CNC router, so I am hoping that project goes just as well.
