Pictures of the printing process:
|
|
|
|
Documentation:
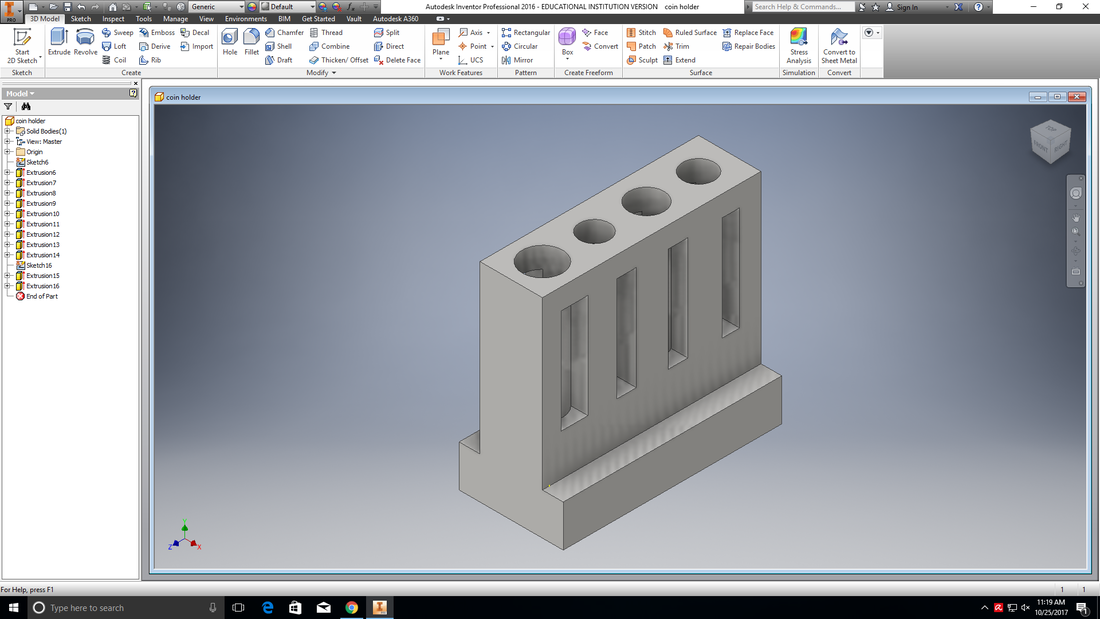
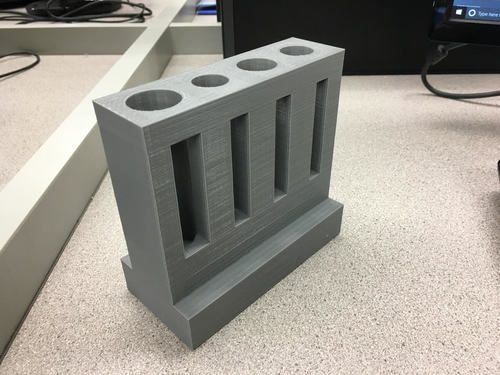
In IDEA we were all given four options to make. We could make a phone holder, an earbud holder, a toothbrush holder or a coin holder. Having no use for the other objects I decided to make the coin holder.
I started by making a big block in inventor and cutting holes in it that were a tiny bit bigger than the coins so they would fit nicely. I then put holes in the coin holes so you can see the amount of coins in the holder. The last step was to put a base on the holder in order too keep the holder upright.
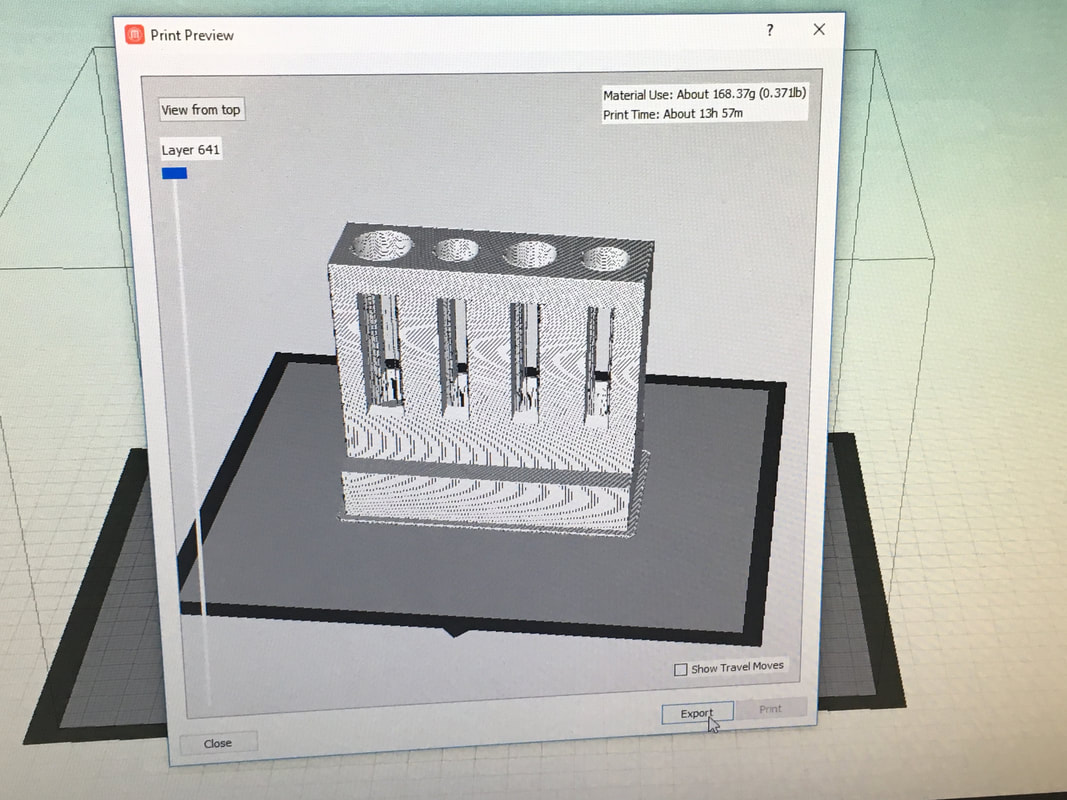
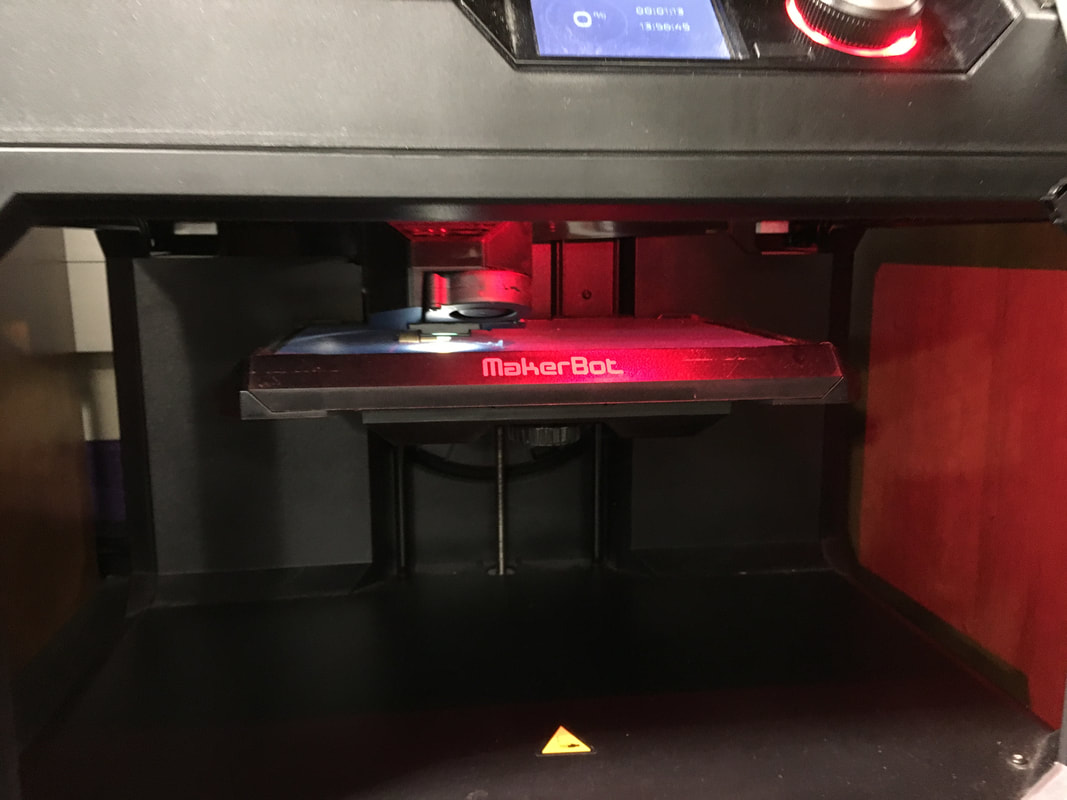
The final step to get this object in hand was to print. The print took about 17 hours and I ended up leaving it here for a weekend.
Step by step recipe:
Make the coin holder in inventor as stated above
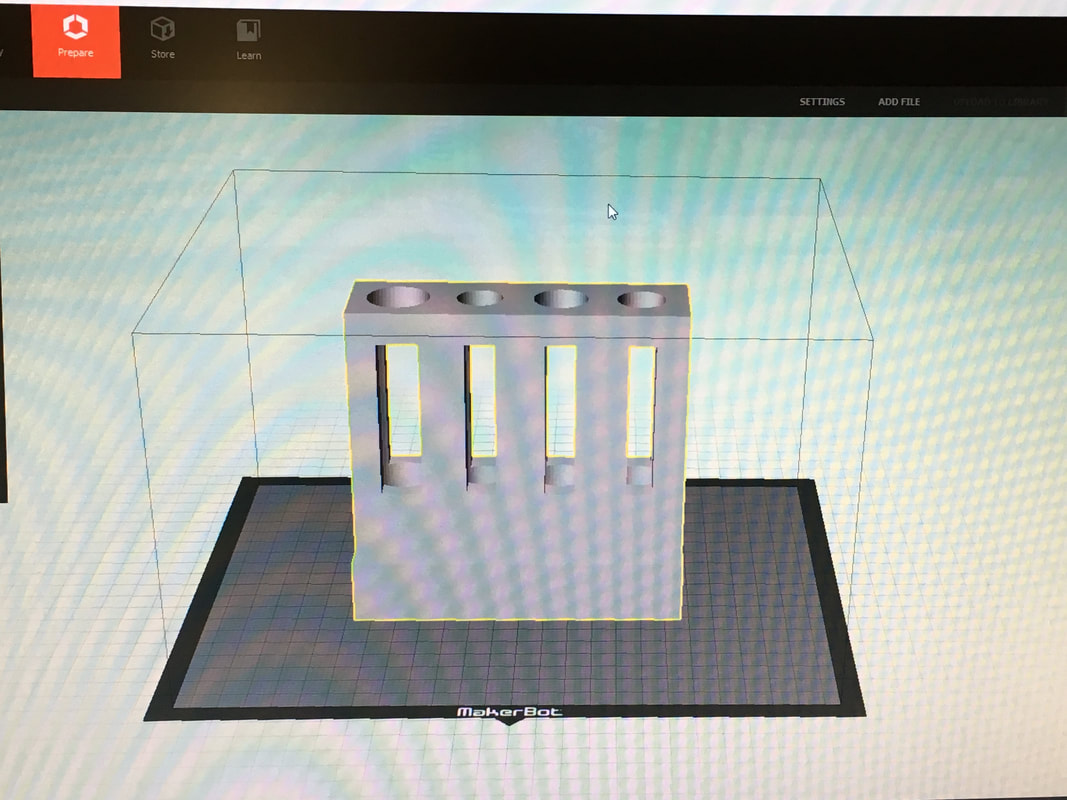
Export the file as an auto cad and change the file type to stl
Open the file in Makerbot
Select to put on a raft and supports in settings
Save the file to a flash drive
Print on 3D printer
Export the file as an auto cad and change the file type to stl
Open the file in Makerbot
Select to put on a raft and supports in settings
Save the file to a flash drive
Print on 3D printer
What I learned
In this section of IDEA I have learned once again how to make an object in inventor and bring it into real life with the help of a 3D printer. I re learned how to format the object correctly as well as move it to the 3D printer. I have learned new things and reviewed others and I am excited to move on to the laser to make even more projects.
