|
|

|
|
Steps:
1:Create a shape in inventor that is one half inch thick
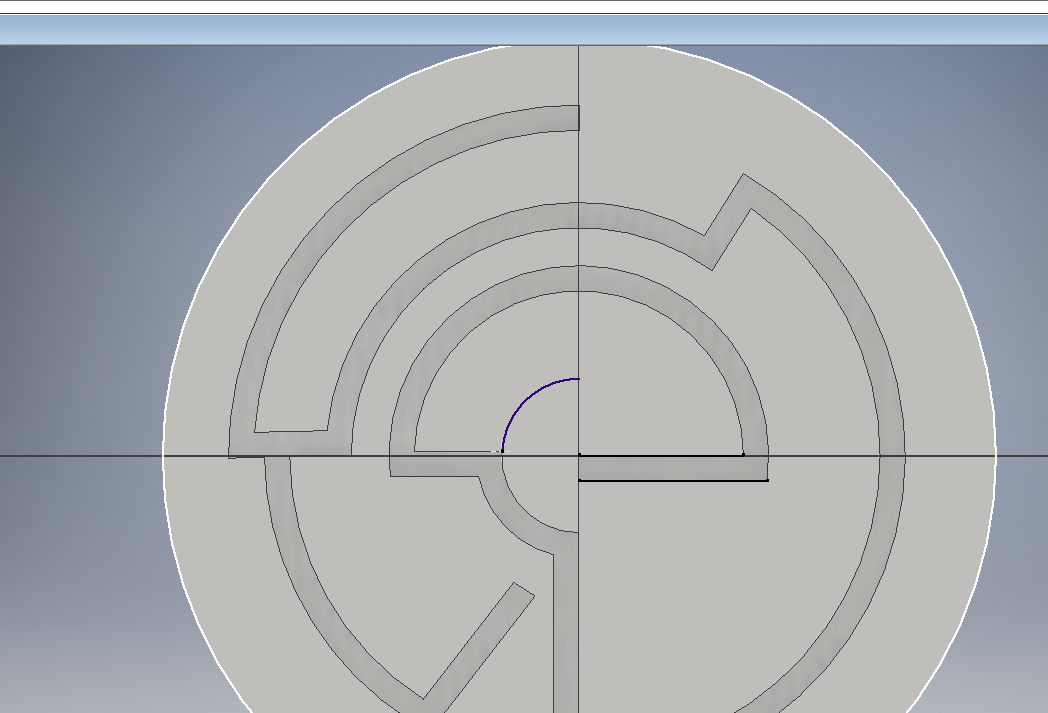
2:Start making the grooves in the shape by making the desired line on the shape (image 1)
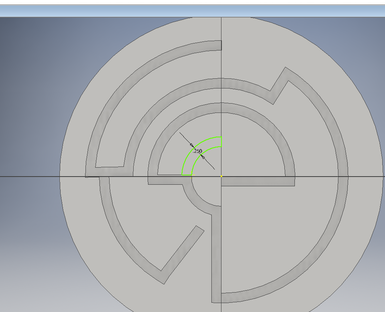
3:Use the offset tool and make the line .25 inches thick (image 2)
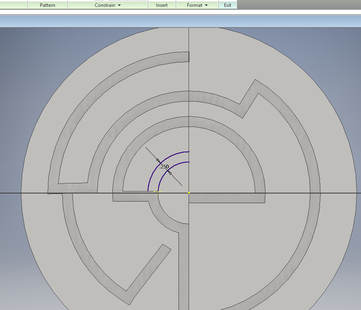
4:Close off the sides of the groove to be (image 3)
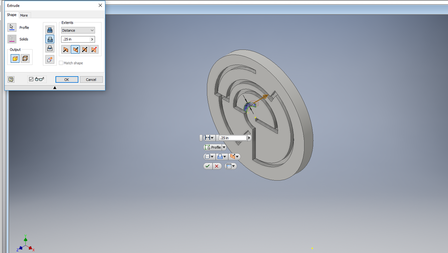
5:Extrude the groove to be .25 inches into the material (image 4)
6:Finish the maze using the instructions above
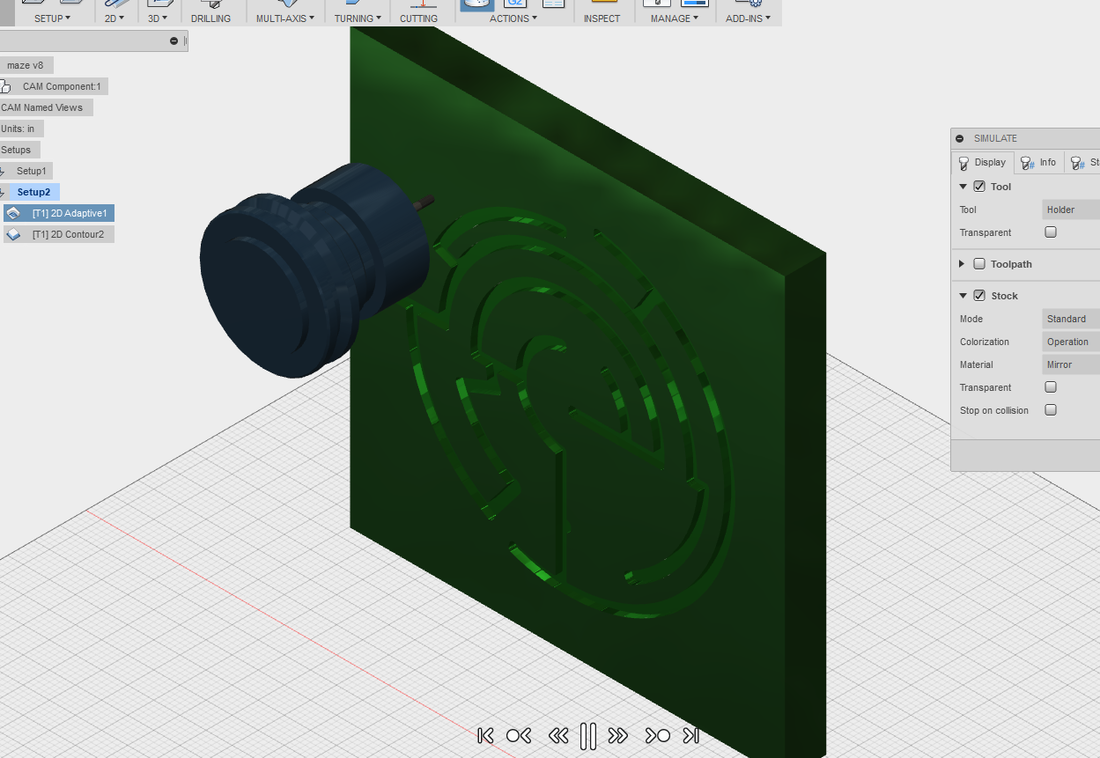
7:Save the project and upload it into Fusion 360
8:Make sure the x,y and z coordinates are correct
9:Click 2D and contour then select the bottom edge of your shape
10:Click 3D and contour and select the bottom of the grooves
11:Make sure all settings are correct for the CNC Mill you are using
12:Save the G-code and input it into the CNC Mill computer
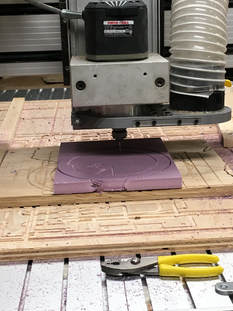
13:Stick your material into place
14:Set 0,0,0
15:Run the machine
2:Start making the grooves in the shape by making the desired line on the shape (image 1)
3:Use the offset tool and make the line .25 inches thick (image 2)
4:Close off the sides of the groove to be (image 3)
5:Extrude the groove to be .25 inches into the material (image 4)
6:Finish the maze using the instructions above
7:Save the project and upload it into Fusion 360
8:Make sure the x,y and z coordinates are correct
9:Click 2D and contour then select the bottom edge of your shape
10:Click 3D and contour and select the bottom of the grooves
11:Make sure all settings are correct for the CNC Mill you are using
12:Save the G-code and input it into the CNC Mill computer
13:Stick your material into place
14:Set 0,0,0
15:Run the machine
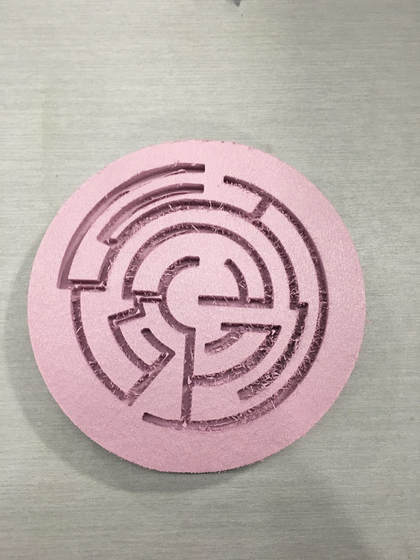
What I Learned:
I once again learned a new machine, but this time the turnout is cooler. I got to learn many new features of Fusion 360 that were not used for the Mill and also learned some new features in inventor. There were ups and downs in this project as in any project, but I am happy with the final results.
